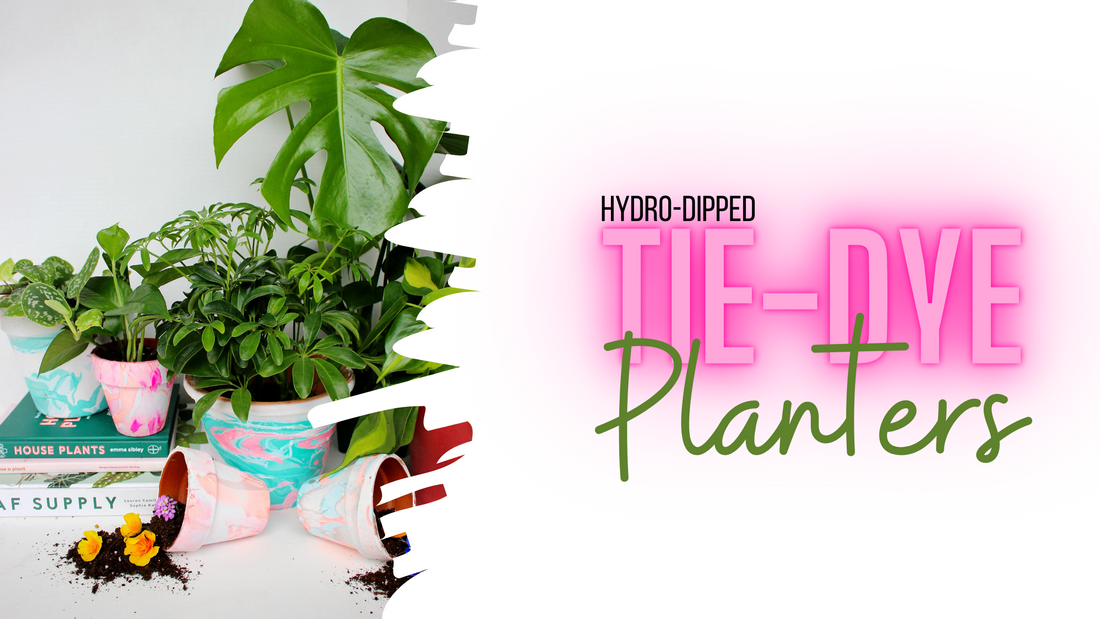
Tie Dye Planters
Share
Like many moms I know, I became obsessed with two things during quarantine; Tie-dye and plants. I have basically turned my home as well as my wardrobe into some sort of psychedelic plant lady wonderland. I have no shame.
I really was trying to figure out how to marry the two and came across hydro-dipping. Hydro dipping is a process of "painting" by dipping an object into water. It is shockingly easy, super cheap and I hate to inform you, but pretty addicting. After this project I also dipped some picture frames, more planters and even a pair of white knock off Birkenstock's I found at Target for $6. But I digress. Let's talk about how to go from dollar store pots to beautiful works of art!

First, what you will need:
I headed to the dollar store because I didn't want to be out a ton of money if this was a bust. I grabbed some nail polish, some cheap pots, I also had a few on hand, a tub to hold water. Make sure whatever tub you use, is taller than any of the planters you will be dipping as you need water deep enough to fully submerge them. I then headed to the hardware store for white spray paint and a clear coat to finish off the planters once dried. I also, made a make shift "studio" in my garage with a cardboard presentation board and craft paper I had on hand to make sure the mess was minimal.

Now that my dip station was ready, I started by wiping down the pots with a dry cloth and covering them in white spray paint. If you can find white pots or planters, that will work and you can skip this step entirely. The surface needs to be white to make the colors pop. I also chose terracotta because I wanted them to last both indoors and outdoors. You can absolutely use plastic instead.

Once your spray is dry completely, I waited about 4 hours, it's time for the fun!

Fill your tub with water, make sure the water line is high enough that you can completely submerge any of the pots you will be dipping. Pour your nail polish onto the water one color at a time. I poured it in a swirl pattern, waited for it to dissipate and then added the next color on top in a different swirling pattern like seen above. I chose to use 3 colors for each pot as that felt the most tie-dye to me, but you can use as many or as few as you like!

Once you have your colors on the surface of the water, now you dip! Above is the process, grab your colors, pour the polish, dip the pot and boom, done! A few notes, when you go to dip, wear plastic gloves, I made the mistake of not doing this and had to use nail polish remover on all of my fingers. Not a smart move. Also, make sure to dip very very slowly, The slower you go, the easier it will make it for the polish to adhere to the pot. Dip the pot bottom first, if you dip it upside down, all the paint will adhere to the inside of the pot, and we don't want that. I found holding the planter, by putting my hand inside and putting my finger through the drainage hole to be the easiest method! Take it out of the water and allow to dry for 6 hours.

These are the little babies drying. I used the shiny side of a poster board to dry them on in case they wanted to stick, I knew that would be easy to get them off of. Would recommend. You will also notice the little once in the dead center, I used a metallic silver nail polish on that one and don't really love the result. It looks almost dirty, so just a heads up if that isn't your thing. I may try to do a all metallic one and see if that makes a difference. Once dry, spray with clear coat and plant those plants!

I can honestly say this has been my favorite project of the summer. I hope you love it as much as we did!
Until next time,
XOXO,
Megan E Badger
